
FAQS
How to Choose the Best Jail Downlight for Your Project
Choosing the right Jail Downlight begins with the conditions it must handle every day: long operating hours, frequent cleaning, limited access, and close human contact. A fixture can look robust on a specification sheet yet disappoint when glare, poor color rendering, or difficult servicing affects the space. Small details matter. Lens strength, sealed construction, mounting security, and accessible maintenance all deserve careful review.
The U.S. Department of Energy’s 2020 U.S. Lighting Market Characterization estimates that lighting used about 244 terawatt-hours of electricity in the United States that year. This national data puts efficiency in perspective, but energy use is only one part of a secure-facility decision. The Illuminating Engineering Society’s Lighting Handbook offers established guidance on visual comfort, illuminance, and lighting quality; project teams should apply those principles alongside facility-specific specifications. A bright fixture is not automatically a better fixture.
This guide compares optical performance, durability, controls, energy use, and replacement needs so teams can assess options against actual room conditions. Check the product’s test documentation, warranty, and maintenance method—not just its advertised rating. A sample installed in a corridor may reveal glare that a catalog photo hides. That matters. Some specifications remain incomplete, and no single fixture suits every secure environment. Use the recommendations as a practical starting point, then verify the final choice with qualified lighting and facility professionals.
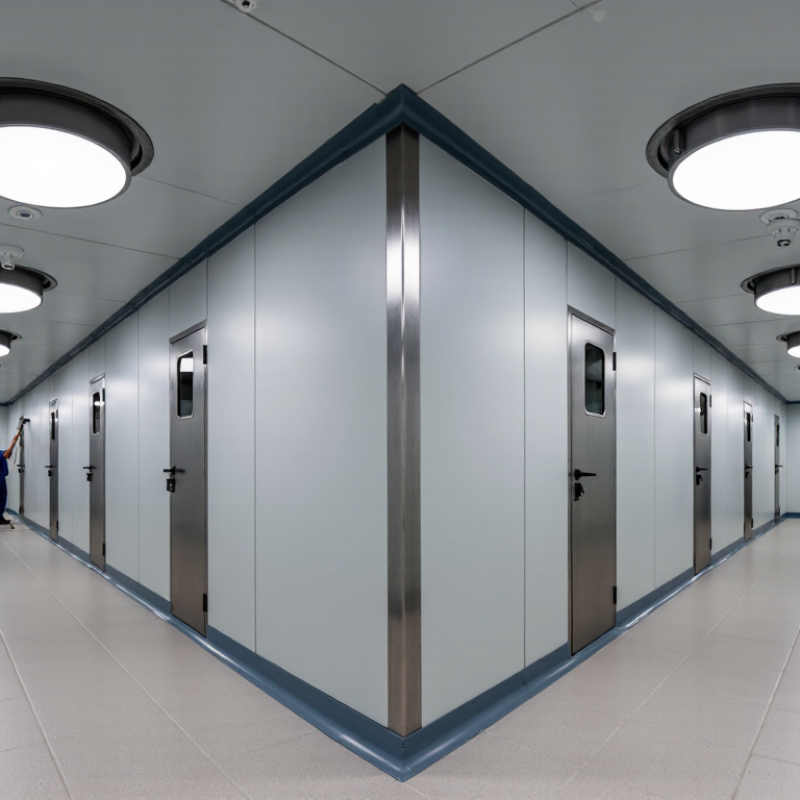
Define the Lighting Requirements and Conditions of the Jail Project
Before selecting a jail downlight, map each space and its actual use. A cell, corridor, interview room, and healthcare area may need different maintained illuminance, uniformity, and glare control. Check ceiling height, mounting depth, existing wiring, and access for maintenance. Note moisture, cleaning routines, temperature changes, and possible impact exposure. These conditions affect the housing, lens, seals, and service life. A specification based only on wattage can miss the real risks.
Measure existing light at working level, both during the day and after dark. Record dark corners, sharp shadows, and glare on polished surfaces. Then compare proposed photometric data with the project’s task needs and applicable facility criteria. The U.S. Energy Information Administration’s 2018 Commercial Buildings Energy Consumption Survey reports that lighting used about 17% of commercial-building electricity. That figure is not specific to jails, but it shows why efficient fixtures and suitable controls deserve review. Do not trade away visibility to chase savings. I would also verify emergency-lighting needs separately; assumptions here can be costly.
Tips: Photograph each ceiling condition, note fixture spacing, and test a sample unit before specifying the full project. Confirm that lenses and trims are cleanable, securely retained, and compatible with the maintenance plan. A small mock-up may reveal glare that drawings miss.
Compare Vandal-Resistance and Safety Features
A jail downlight must tolerate impact without creating new hazards. Compare the complete assembly, not just its metal trim. A thick, one-piece faceplate and concealed, tamper-resistant fasteners make forced removal harder. A recessed lens can reduce snag points, while a securely retained, impact-rated diffuser helps contain fragments if struck. Ask for independent test documentation and confirm the tested configuration matches the proposed fixture. Ratings can be easy to misread.
Material alone does not prove vandal resistance. Stainless steel may resist corrosion, but attachment points, seams, and the ceiling interface matter just as much. Check whether the housing can be reached from the occupied side, and inspect how the unit is secured above the ceiling. Smooth edges and flush installation simplify cleaning and reduce places for objects to catch. A heavy fixture is not automatically safer. Small details matter.
Compare safety features separately from impact features. Look for protected wiring, grounded metal parts, suitable thermal limits, and documented electrical and fire-safety compliance for the installation. If emergency illumination is required, verify backup duration, test access, and light output in the actual room layout. A bright sample on a workbench tells little about shadows around bunks or doorways. Review maintenance steps too: can staff inspect the lens and fasteners without leaving components loose? I would treat unclear service instructions as a real drawback, even when the fixture looks robust. Check site conditions and applicable codes before approval.
Select Light Output, Beam Angle, and Color Temperature
Choose light output by the surface, not the fixture’s maximum rating. For a narrow corridor, a lower-output downlight may prevent harsh bright spots on the floor. In a room with dark finishes, you may need more delivered light because the walls reflect less. The U.S. Department of Energy’s Energy Saver guidance reports that LEDs use at least 75% less energy than incandescent lighting. Still, efficiency alone cannot tell you whether a space will feel comfortable.
Beam angle changes how light lands. A narrow beam creates defined pools, while a wider beam spreads light across walls and floors. Check spacing against the beam angle, ceiling height, and fixture trim; otherwise, gaps can appear between fittings. For color temperature, compare samples in the actual room. Around 3000K often feels warm, while 4000K looks more neutral. Neither is automatically right. I would mock up one ceiling bay before ordering, because drawings rarely show how paint and floor finishes shift the perceived color.
Tips: Review lumens, beam angle, and CCT together. Ask for photometric files, then test a sample at the intended mounting height. A small mismatch can be surprisingly visible.
How to Choose the Best Jail Downlight for Your Project
Select light output, beam angle, and color temperature to suit the space.
How to use this guide: These lumen values are practical starting points per downlight, not fixed requirements. Final room brightness depends on ceiling height, fixture spacing, room finishes, and the total number of lights.
Beam angle: Consider 36° for general-purpose coverage, narrower beams for focused accents, and wider beams for broader coverage. Color temperature: 2700–3000 K gives a warm feel, 3000–3500 K suits many kitchens and living spaces, and 4000 K provides a cooler appearance for task-focused areas.
Check Mounting, Wiring, and Environmental Compatibility
Choose a downlight with a mounting method suited to the ceiling structure and the room’s security needs. A flush, firmly secured trim leaves fewer edges exposed. Check ceiling thickness, cutout diameter, and access above the ceiling before ordering; a small mismatch can delay installation. For wiring, confirm supply voltage, driver location, dimming compatibility, and available junction-box space. Have a qualified electrical professional verify the circuit and local project requirements. I would recheck the driver details. They are easy to overlook.
Environmental fit matters just as much. In damp or dusty areas, use the fixture’s IP rating to compare its protection against solid objects and water; IEC 60529 defines this rating system. IP ratings do not indicate resistance to impact, so assess that separately if the fixture could be struck or tampered with. Also consider cleaning chemicals, corrosion, and operating temperature. The U.S. Department of Energy’s Energy Saver guidance reports that LEDs use up to 90% less energy and last up to 25 times longer than incandescent lighting; actual savings depend on the installation and use.
Tips: Measure the ceiling opening twice, photograph the wiring area, and match the fixture’s voltage and environmental rating to the site. Ask for written confirmation when a specification is unclear.
How to Choose the Best Jail Downlight for Your Project - Check Mounting, Wiring, and Environmental Compatibility
| Selection Dimension | What to Check | Suitable Consideration | Project Verification |
|---|---|---|---|
| Mounting method | Recessed, surface-mounted, or a fixture installed in a protective housing | Choose a mounting style that matches the ceiling construction and the facility’s security requirements. Recessed installations need adequate space above the ceiling. | Confirm ceiling access, fixture cut-out dimensions, mounting depth, and the approved fixing method before ordering. |
| Ceiling construction | Concrete, suspended ceiling, or another ceiling type | Use a fixture and mounting arrangement designed for the actual ceiling material. A standard ceiling clip may not be suitable for a secure or solid ceiling. | Check the ceiling drawings, available plenum space, structural support, and whether access from above is permitted. |
| Security and tamper resistance | Lens retention, exposed fasteners, accessible edges, and resistance to unauthorized removal | Where required by the facility, specify a secure, tamper-resistant design with compatible captive or security fasteners. “Anti-ligature” suitability depends on the full installation, not the fixture label alone. | Obtain approval from the project’s security or clinical-risk authority and review the installed assembly, including trim and fasteners. |
| Wiring access | Connection location, conduit or cable entry, and access for installation and maintenance | Select a wiring arrangement compatible with the site’s permitted cable routes and access restrictions. Keep connections enclosed as required by the design. | Confirm entry direction, junction-box location, conductor type, local wiring rules, and whether maintenance access is available. |
| Supply voltage and driver | Input voltage, driver type, dimming method, and driver location | Match the driver to the building supply and any specified control system. Dimming compatibility depends on the driver and control equipment. | Check the product’s electrical data, supply frequency, control protocol, and any requirements for remote or accessible drivers. |
| Ingress protection | IP rating required for dust and water exposure | Choose an IP rating based on the room’s actual cleaning method and moisture exposure. A higher IP rating does not by itself establish impact resistance or tamper resistance. | Review the fixture’s tested rating and confirm that the installed assembly maintains the required protection. |
| Impact resistance | Lens and housing resistance to the anticipated level of impact | Specify an appropriate impact rating where impact is a foreseeable risk. IK ratings describe mechanical impact resistance; they do not replace security or ligature-risk assessment. | Check the documented test rating and ensure it applies to the complete fixture configuration being installed. |
| Temperature and environment | Ambient temperature, humidity, cleaning chemicals, and operating conditions | Use a fixture whose stated operating range and materials are suitable for the room. Chemical compatibility should be confirmed for the cleaning products used on site. | Compare the manufacturer’s environmental limits with the project specification and cleaning procedure. |
| Light output and distribution | Required illuminance, beam distribution, glare, and room layout | Select output and optics using a lighting calculation rather than wattage alone. Appropriate uniformity and glare control depend on the room and task. | Review photometric data and confirm the design against applicable lighting requirements for the facility. |
| Colour appearance | Correlated colour temperature and colour rendering | Choose colour characteristics to suit the project’s visual needs and lighting specification. Keep selections consistent where uniform appearance is required. | Confirm the specified colour temperature and colour-rendering data on the product schedule and submittal. |
| Emergency lighting | Whether the luminaire must operate during a mains failure | If emergency operation is required, specify a compatible emergency version or a separately designed emergency-lighting arrangement. | Verify emergency duration, testing method, monitoring requirements, and compliance with local regulations. |
| Maintenance and replacement | Access to the light source, driver, and replaceable components | Plan maintenance around the facility’s access controls. Consider serviceable components and a replacement process that does not compromise secure mounting. | Confirm isolation procedures, service access, spare-part availability, and who is authorized to perform maintenance. |
| Documentation and approvals | Electrical, photometric, environmental, and security-related documentation | Use documented product data that supports the project specification; do not rely on a general product description to establish compliance. | Review drawings, installation instructions, test reports, certifications, and approvals required by the authority having jurisdiction. |
Note: Requirements vary by facility, jurisdiction, room use, and installation method. Confirm final selections with the project engineer, facility security team, and applicable local codes.
Assess Maintenance Needs and Applicable Standards
In a secure facility, maintenance access can matter as much as light output. Check whether staff can inspect the driver, wiring, and lens without opening a larger ceiling area. A fixture that requires frequent removal may increase labor and disrupt occupied spaces. Ask for realistic service intervals, replacement-part availability, and cleaning instructions. Dust and cleaning chemicals can shorten component life. Small detail.
Look closely at the lens and trim. Smooth, tightly fitted surfaces are easier to clean and leave fewer edges for damage. Confirm that the design suits the ceiling construction and the facility’s security requirements. Do not assume “vandal resistant” describes every component; request test details for the complete fixture. I would also check how the unit handles heat in the actual ceiling cavity, since a compact housing can restrict airflow.
Applicable standards depend on the project location and facility specification. Review current electrical and fire requirements, plus any stated impact, ingress-protection, or emergency-lighting criteria. Request current test reports or certification documents, and match their scope to the exact fixture configuration. A rating for one lens or mounting option may not cover another. Have the project’s qualified electrical and life-safety professionals verify selections against the approved drawings. Paperwork can look complete, yet still leave a gap between the tested product and the installed one.
Skip to content
